![How To Create Inventory Management System In Excel [Pre-made Template]](/_next/image?url=https%3A%2F%2Fstrapi-efex.ichiba.net%2Fuploads%2Fcreate_inventory_management_system_in_excel_b312c3e15d.jpg&w=1920&q=100)
More Helpful Content
An inventory management system is required for every retailer or wholesaler. Tracking inventories without the support of specialized software can be time-consuming. Most users might give up after considering the price of purchasing such software. Inventory management by Excel can assist you in effectively organizing and managing inventory as well as stock goods, allowing you to have a better understanding of how much you have and also what you need.
The following post will show you how to create an inventory management system in Excel. We will use the pre-made Excel template in this post; thus, don't forget to download it for free. Open the template and here we go.
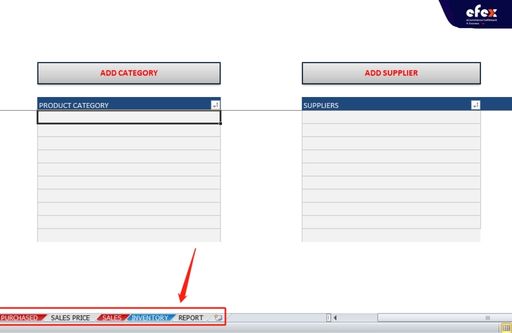
First and foremost, you should be familiar with our given template. In this template, we’ve created 7 different Excel sheets corresponding to each element and process we need in an inventory system. Here they are:
With such an Excel template above, the inventory management will be involved in 6 steps as follow:
After you get used to this template, let’s move to the first step of managing inventory in Excel!
- Read More: Order Management System: Definition, Process And Value
- Read More: Order management system for Ecommerce: Definition, Key Effect, Benefit
The first stage in developing an inventory management system is to generate a category and enter supplier data into the “CATEGORY” sheet.
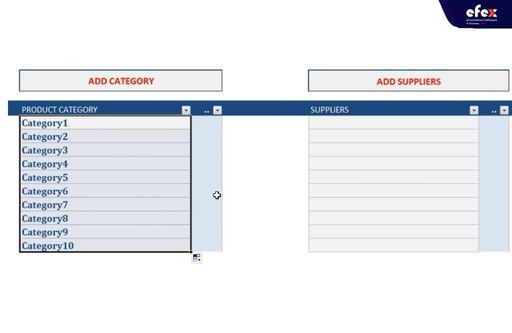
If you want to add more categories, click the button ‘ADD CATEGORY’, and a new cell will be added.
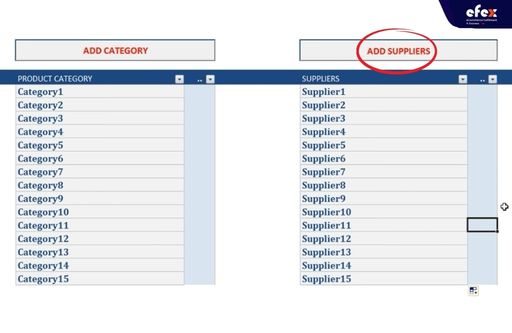
To add your suppliers, you do the steps similar to the way you add categories. As a result, your ‘CATEGORY’ sheet will be like this:
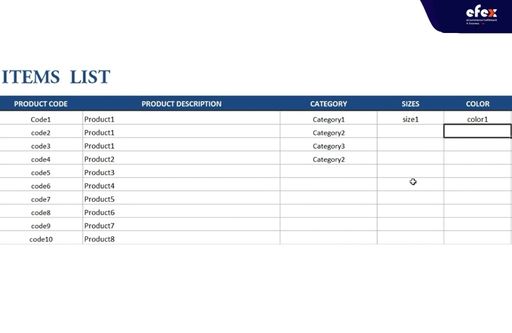
Select the ‘ITEMS’ sheet, and you will see an item list with the elements below:

Product code. Remember not to use the same codes for all cells of the ‘Product code’ row. The codes must be unique.
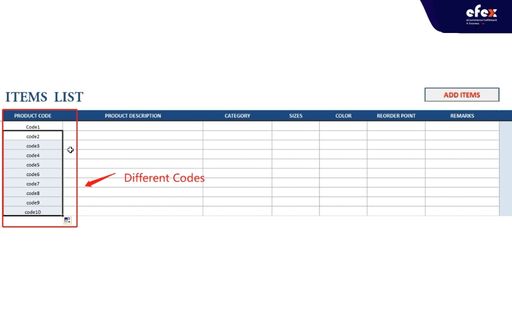
Product description. Here you type the product name of some product descriptions. A single product can be used for different codes.
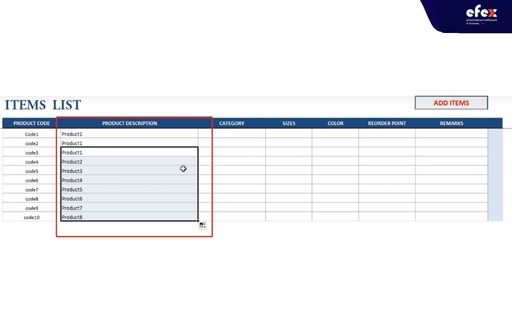
Category. In this field, we use the information of categories on the “CATEGORY” sheet.

Sizes and Color. Fill in your products of sizes and colors.
Reorder point. Finally, put the value of reorder point, and you will be done with your item list.

Note: If you add 15 products to the ITEMS LIST, your INVENTORY product should also be 15. This leads you to the “INVENTORY” sheet.
Move to the “INVENTORY” sheet. With the data you put into your ITEM LIST, they will be transferred to the “INVENTORY” sheet.
👉 Read More: QR Code Inventory Management in Excel: A Complete Guide To Create
This helps you check your Stock Inventory with the information as follows:

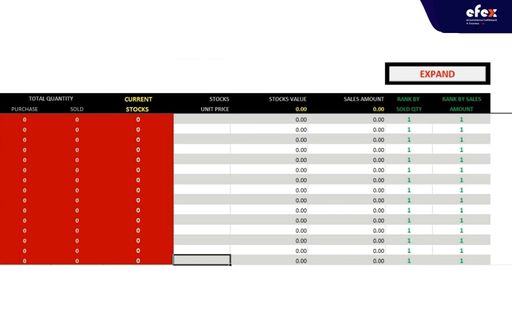
Remember to click ‘Expand’ to unhide other products on stock inventory. In order to know how those elements work, you need to perform step 3.
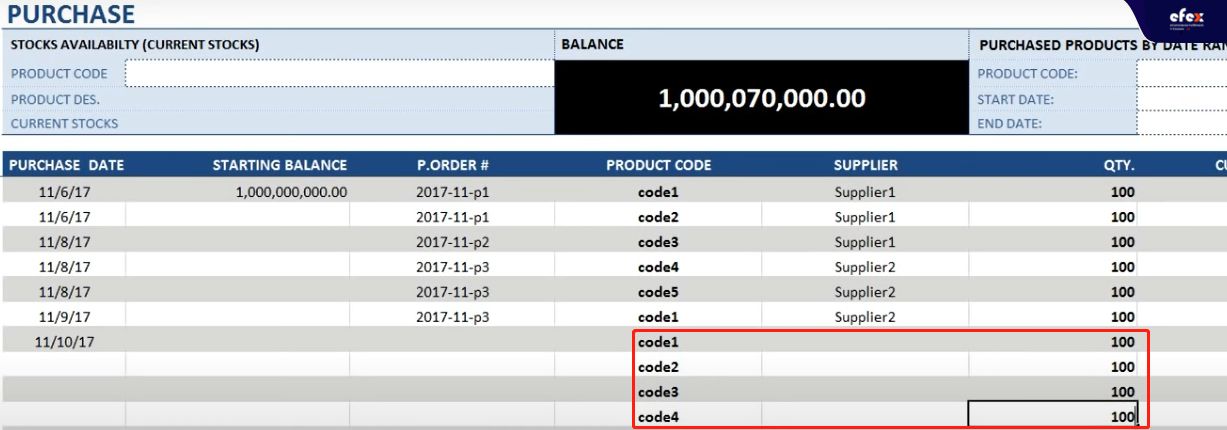
Open the “PURCHASE” sheet. Now you can see the cell ‘BALANCE’ still at the value of 0.
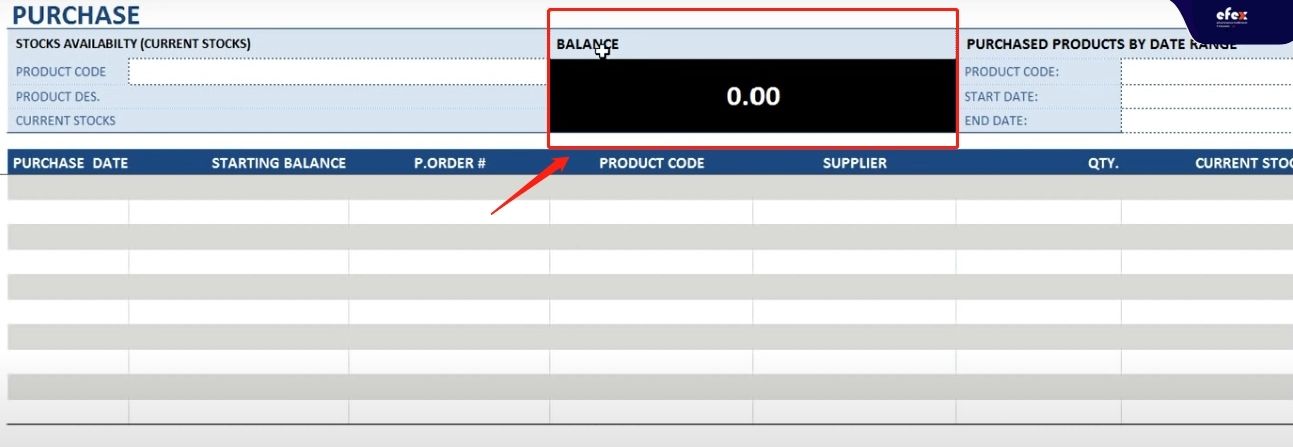
That will be your mission to record the product purchased for a certain period. Firstly, add your funds to the row ‘STARTING BALANCE’. Assume your starting fund is 1 billion on 6th November 2017. Your balance will be automatically updated.
You have a fund, then started to fill in the information of your first Purchase order.
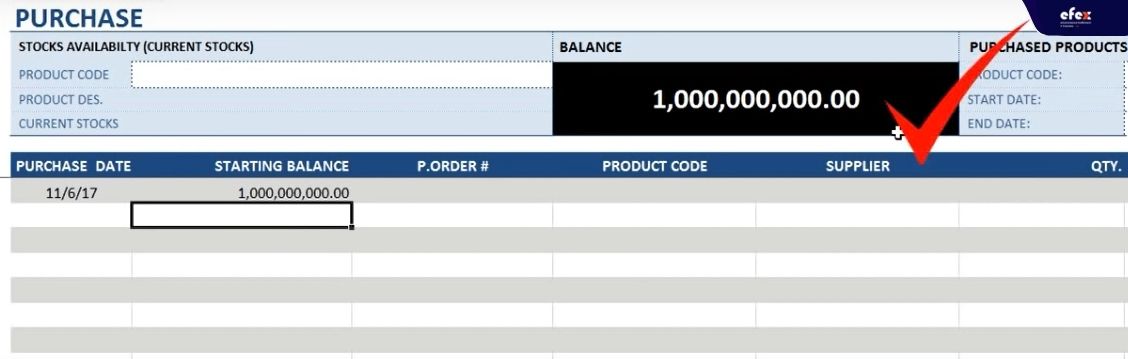
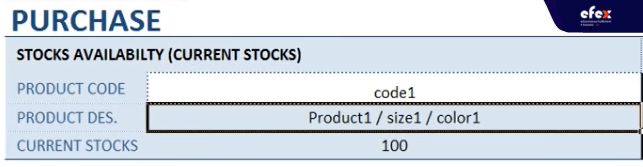
After you type the code, your product description with current stock will be updated.

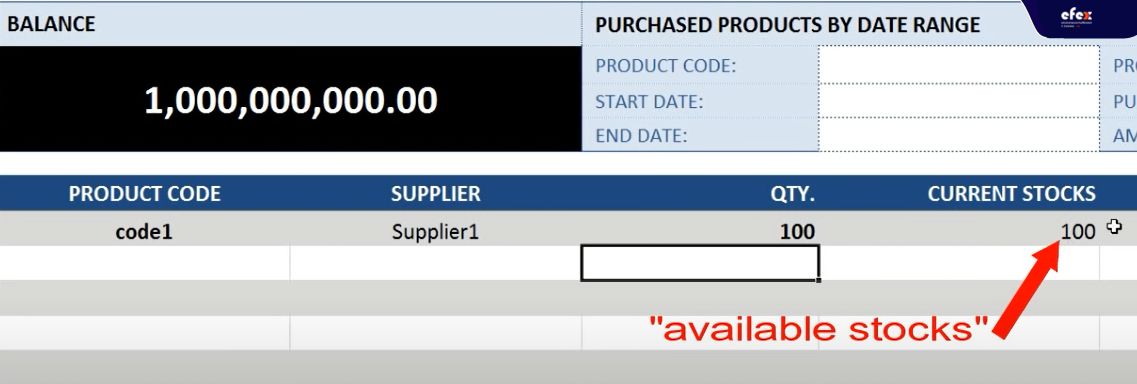
Next, determine this PO from which suppliers and enter the Quantity you purchased. This quantity will be added to the current stocks.
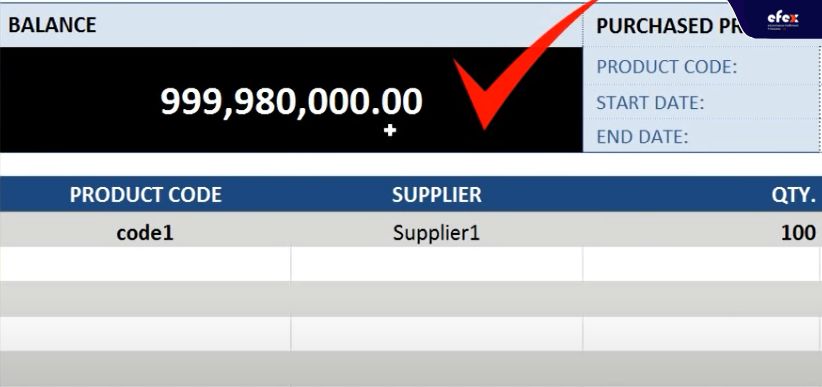
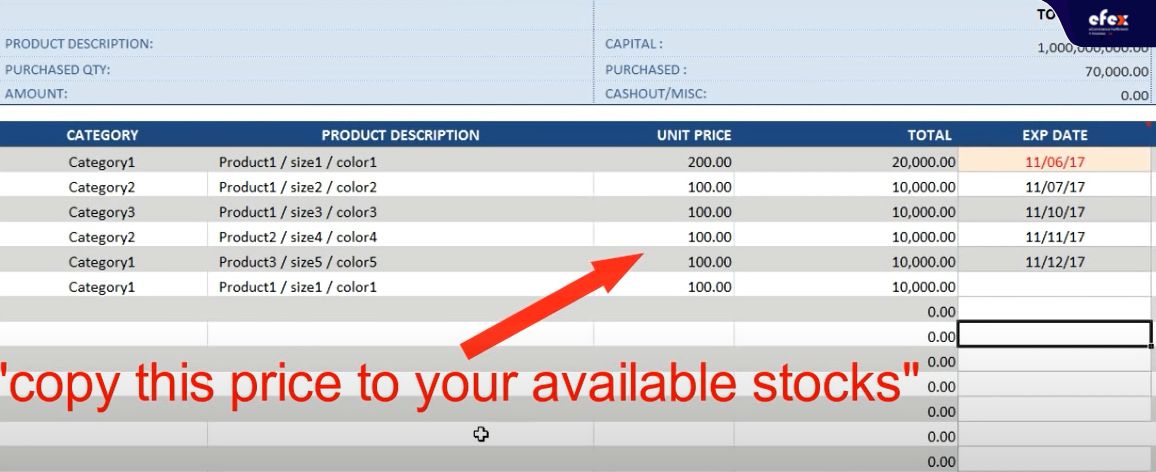
Fill in the unit price for each product the the total cost of this PO will equal to Unit price*Qty. After the first PO, your balance will decrease.

Do the same work with other purchased orders. Add your expiration date. The date will turn red when it reaches the expiration date.
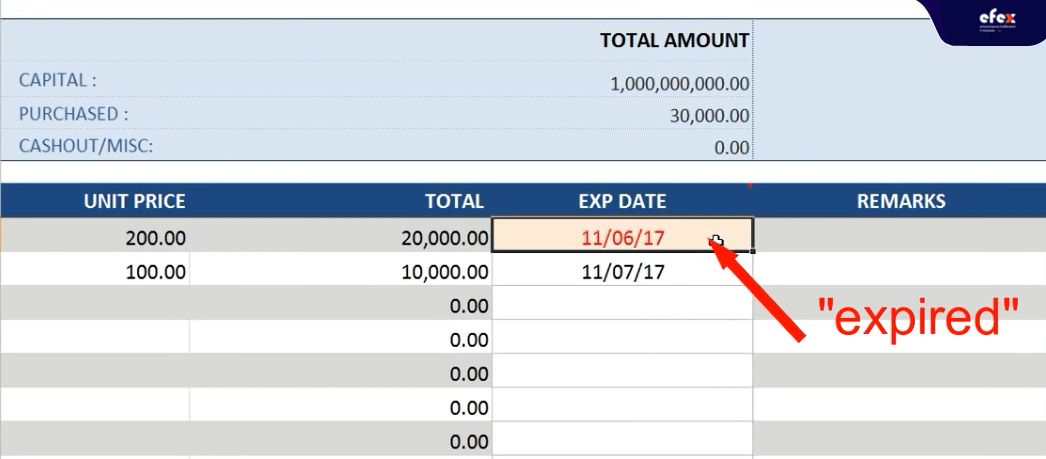
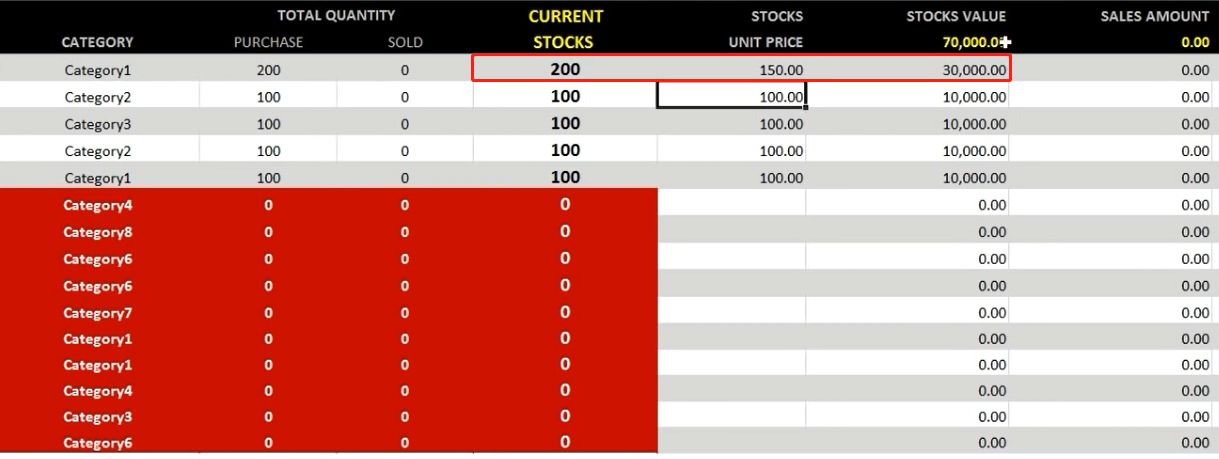
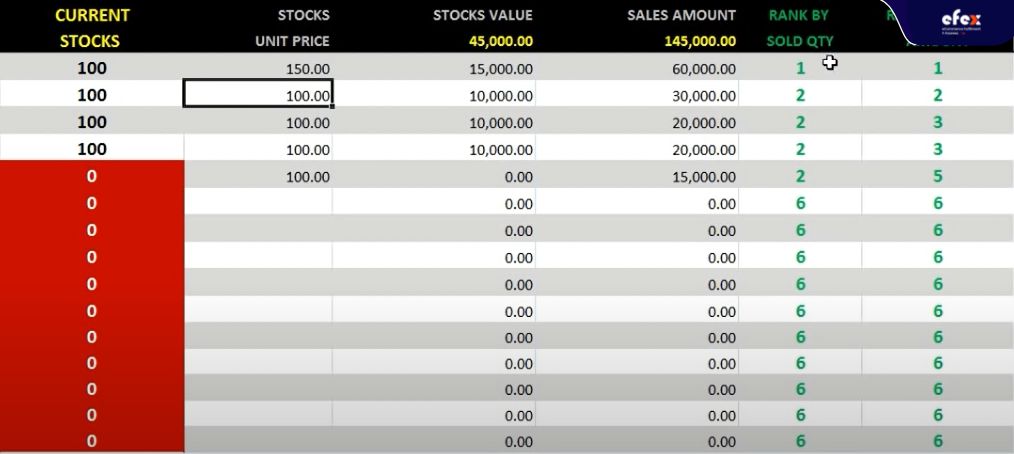
Copy the unit prices to your available stocks corresponding to each type of product.
However, as you can see, Product1/ size1/ color1 has two prices $200 and $100. In this case, we will take the average price to get the stock value of the same products with different purchase prices. Then we have (200+100)/2=$150.
You can search product current stocks on the ‘PRODUCT CODE’ tab search.
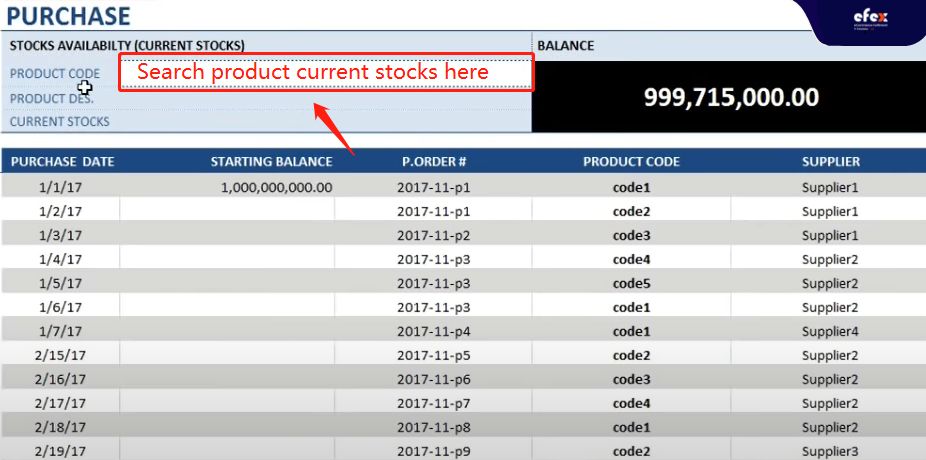
You also can search by date range.

Now move to the “SALES PRICE” sheet!
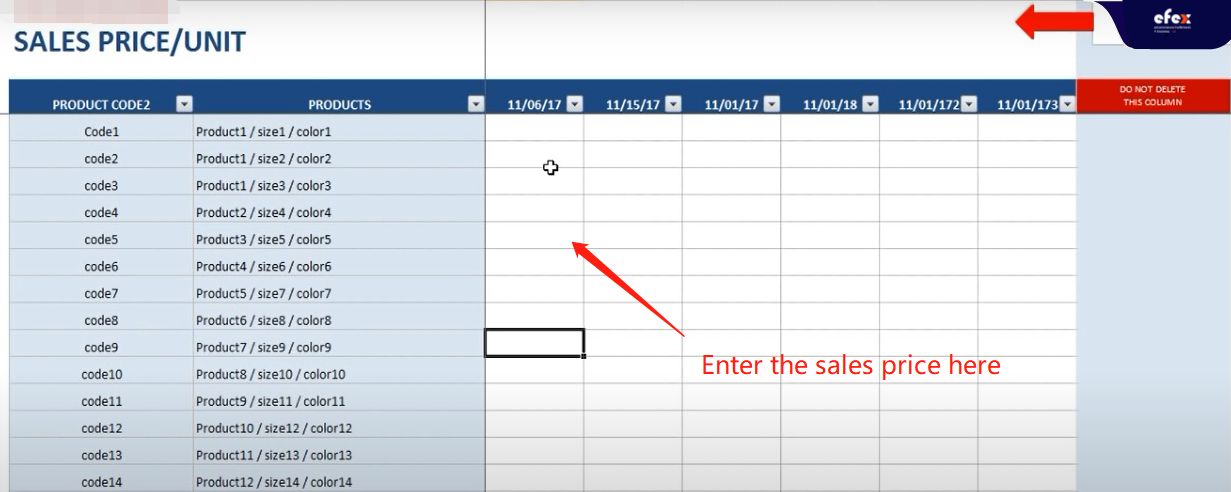
To update the sales price, copy the old price and paste them to the next column the adjust them. For more price updates, you just need to insert new columns.
👉 Read More: How Can You Disposal Of Obsolete Inventory?

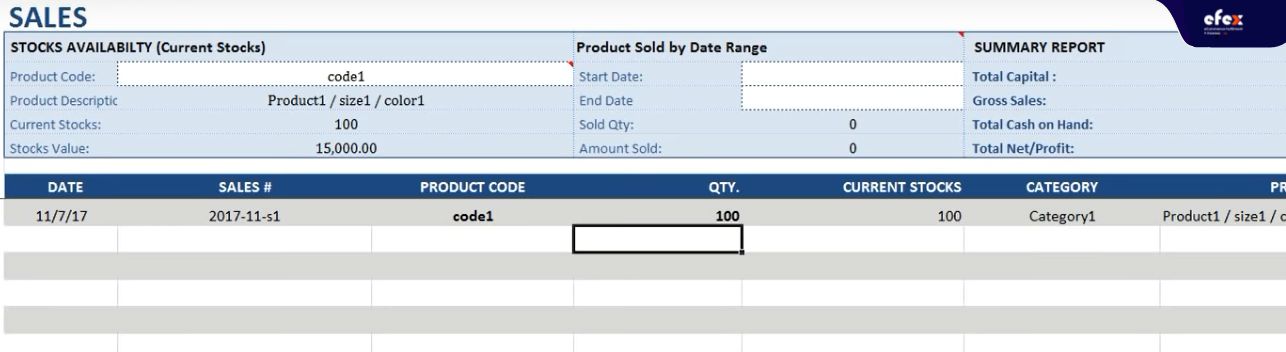
Open the “SALES” sheet and enter the sales data.
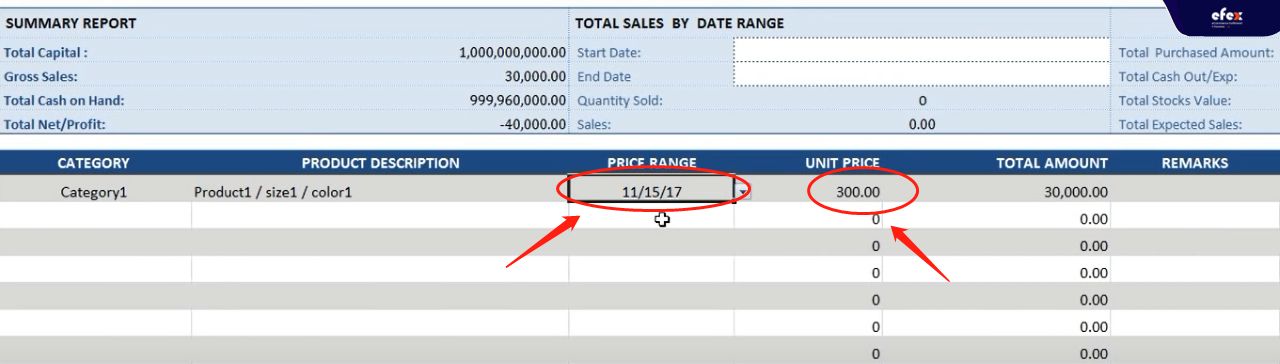
Enter the price range from the “SALES PRICE” sheet. Remember to choose the right date that the price is updated.

Then, the unit price will be automatically updated following the date.
Do the same with other sales. When the quantity of sales increases, that means the current stock decreases.It will be updated following the goods sold over time.
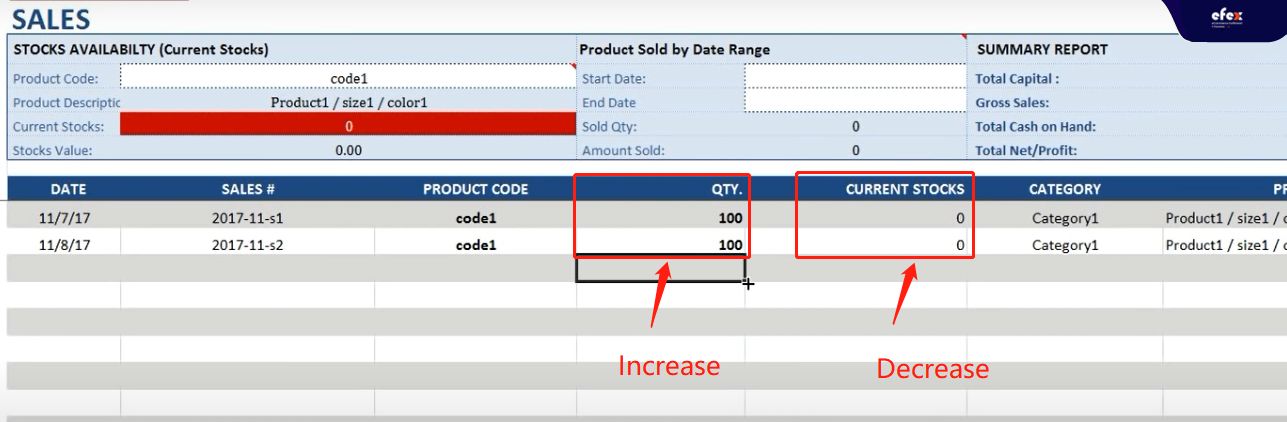
After a certain period of time, you can track product sales, stock availability, and summary report by searching on the search tab. Besides, you must update your current stock value in order to make prompt purchases for goods out of stock. As you can see, you’ve already sold out all of your inventory. Now make new purchases for unavailable products.
New products are added to your stocks. After a sales time, your data becomes more and more complete. You can track which product is selling well, and which one is not.
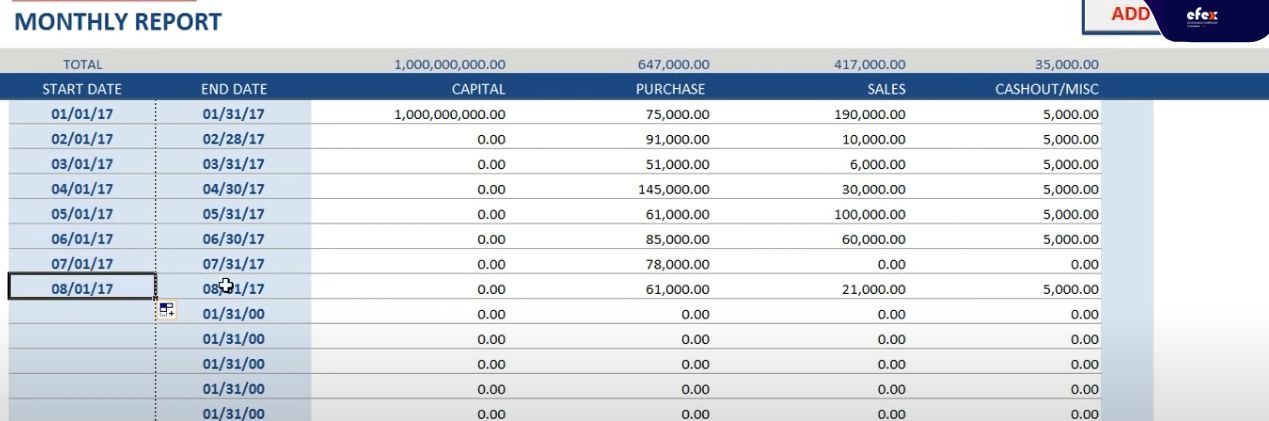
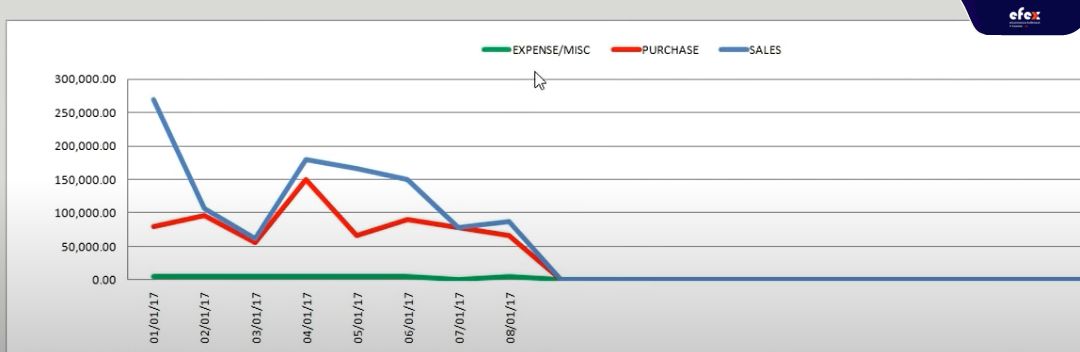
It’s important to create reports weekly or monthly to get to know how effectively your business operates. Therefore, in this inventory management template, the monthly reports will be created once your purchase and sales sheet start to populate and you add the monthly report.
👉 Read More: How To Create An SKU Number And SKU Generator
👉 Read More: ABC Analysis Example, Formula, and How To Calculate
Inventory management may be challenging for any business. It is easy to feel overwhelmed to keep track of your many types of inventory and gather data on every product that flows in and out of your company. That’s why Excel exists! Creating inventory system in Excel is a better solution for your business.
With our ultimate guide “how to create inventory management system in Excel”, everything becomes easier for your inventory management. However, if your company grows, investing in the software will allow you to enhance your inventory management and save time and money.


